

DIY Of The Week: Colorful Windchime
Another DIY of the Week, where we will be sharing some of our favorite DIY projects from around the web with you. We’ll be choosing projects ranging from up-cycling, arts & crafts, projects you can do with kids, home and garden DIYs, the list goes on. Let us know what your favorite types of DIY projects are in the comments!
This’s week project comes from myhomemystyle.com and is the perfect Spring addition to your home and costs less than $20!
Directions:
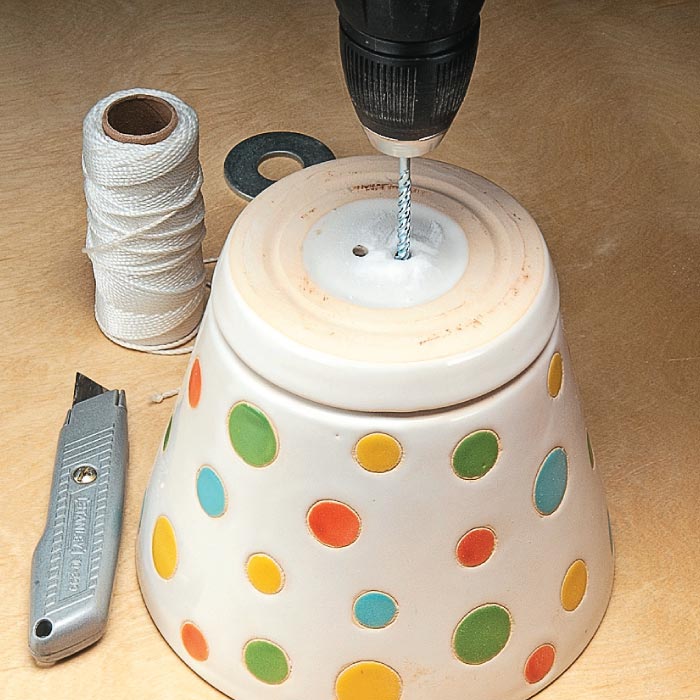
Simple Supplies.
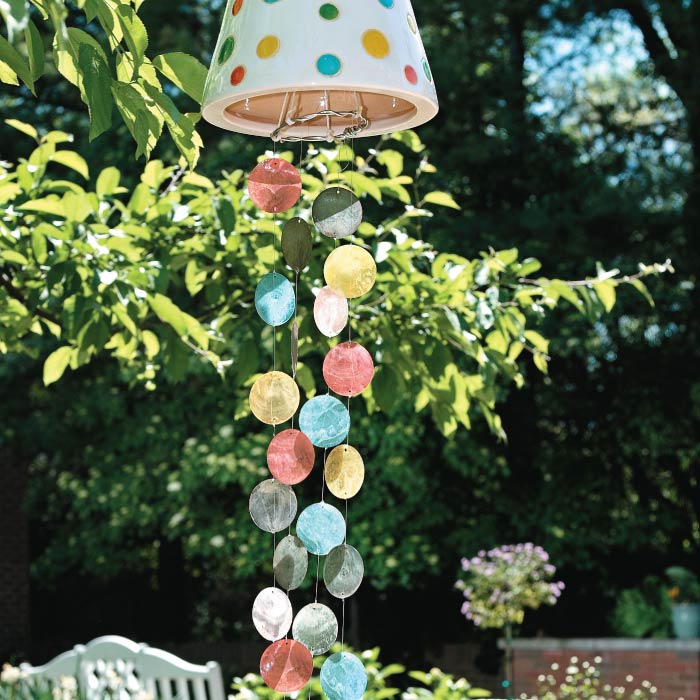
The top of the project is an inverted flower pot. We used colorful glass shells for the chimes below.
Drill the Holes:
To start, turn the pot upside-down, and drill two holes in the bottom with a masonry bit. The holes should be evenly spaced around the center. Drill slowly to avoid breaking the pot.
Add the Hanger
The rest of the project components are connected with masonry line threaded through the two holes. First, add a washer that you’ll use to hang the pot. If you have trouble threading the line through the holes, tie a knot in the end of the line. Then form a makeshift needle from a paper clip to pull it through (inset photo).
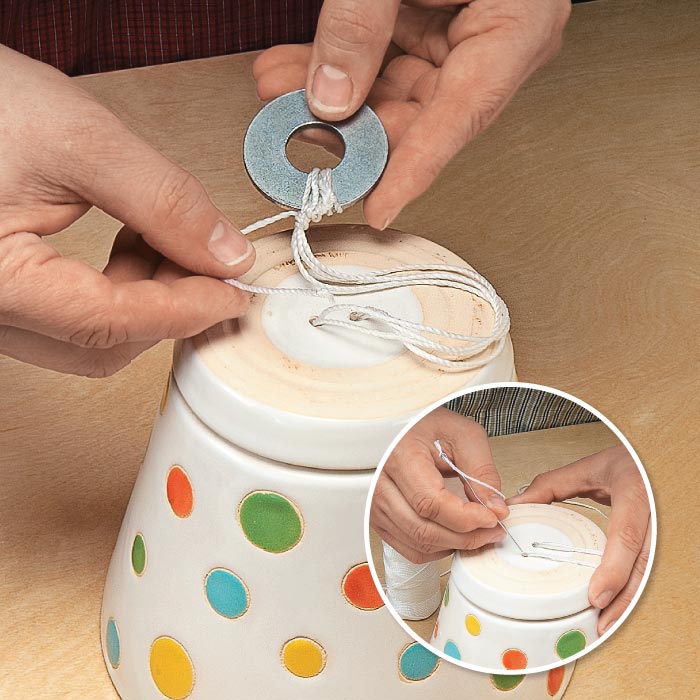
photo courtesy of myhomemystyle.com
Make the Wire Hoop
The chimes will get tied to a wire hoop beneath the pot. Make this hoop by twisting floral wire around itself for strength. Then secure it with two more pieces of masonry line that are each threaded up through one hole and down through the other.
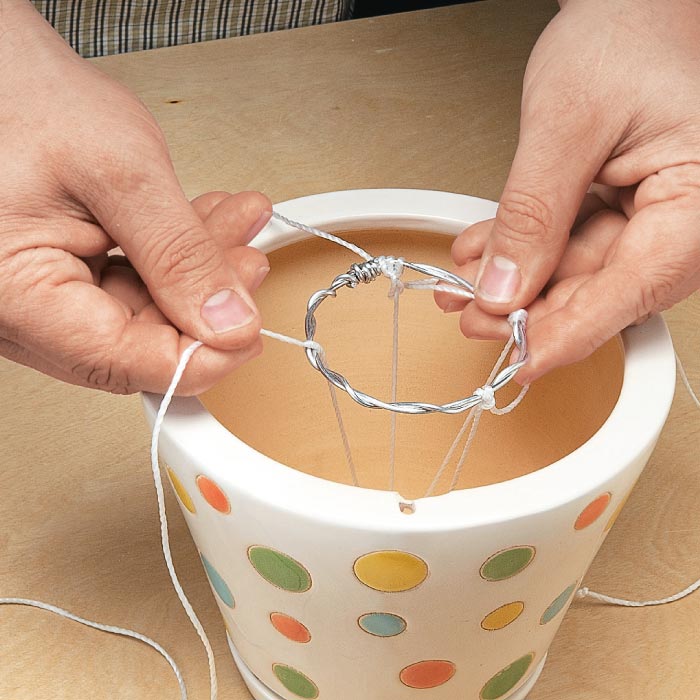
photo courtesy of myhomemystyle.com
Attach the Chimes
Each chime is a strand of colorful shells. To make a strand, tie a knot in one end of a monofilament line, and then thread one of the shells onto the other end. Repeat the process for each shell, tying knots where desired to establish spacing between shells.

photo courtesy of myhomemystyle.com